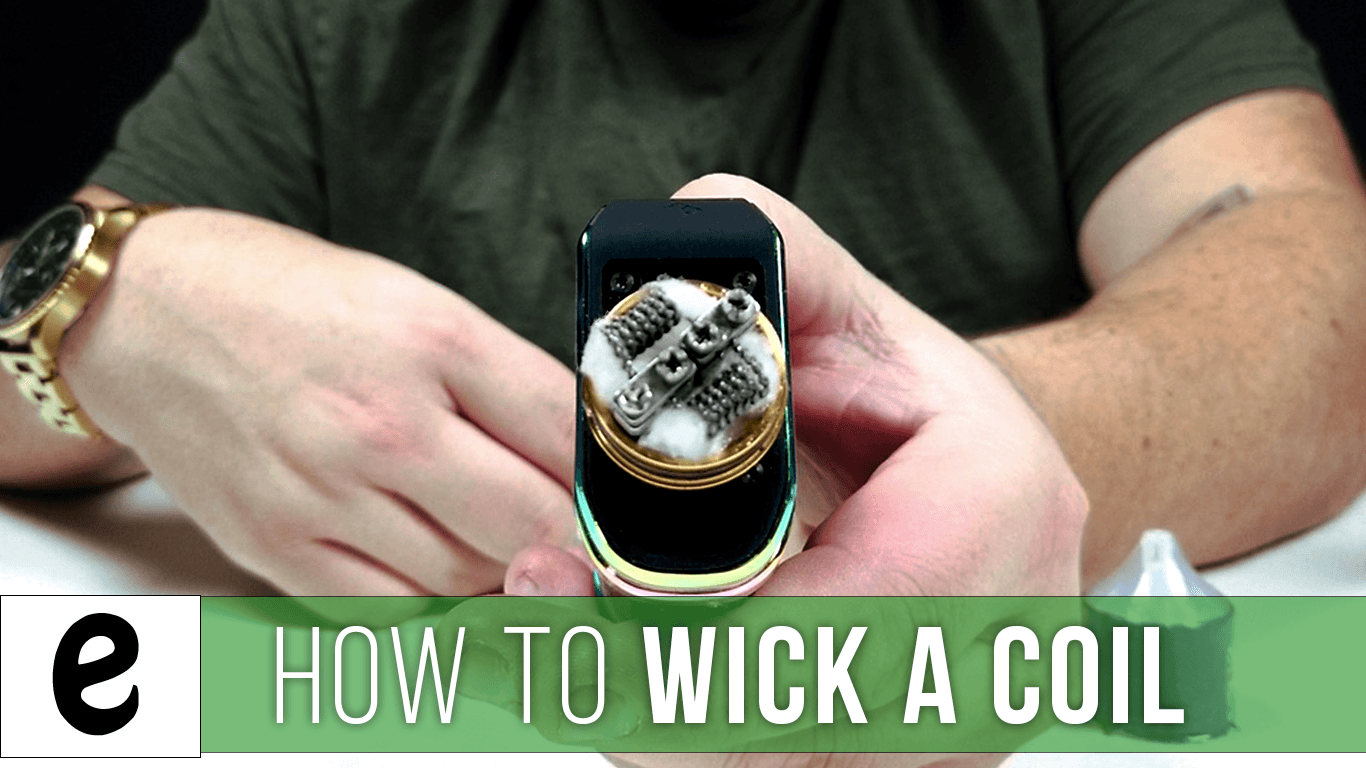
Though it’s relatively simple, there are a few helpful tricks to wicking a vape coil.
Whether you’re a beginner to vaping or you just need a refresher, this guide will explain how to wick a vape coil, which cotton you can use and how to prime your coil so it’s a smooth and tasty hit from the first puff. Let’s get started.
Check out the tutorial video below so you can follow along:
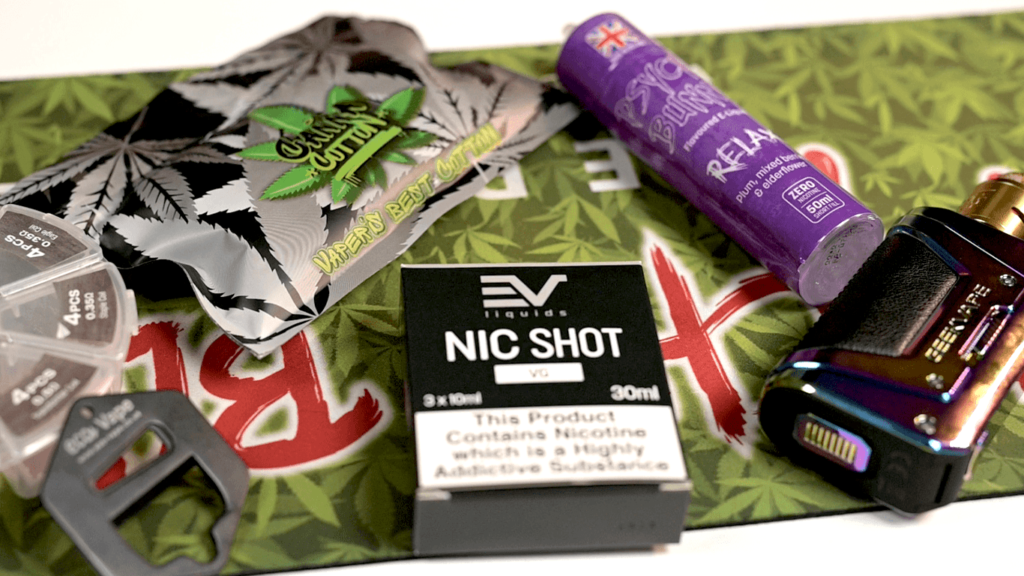
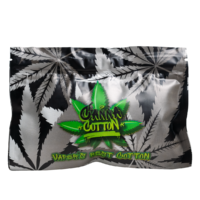
There’s lots of different types of cotton available for wicking coils. The most popular types tend to be organic cotton (sometimes known as Japanese organic cotton) and hemp.
We’re using Cannacotton, which is 80% cotton and 20% hemp.
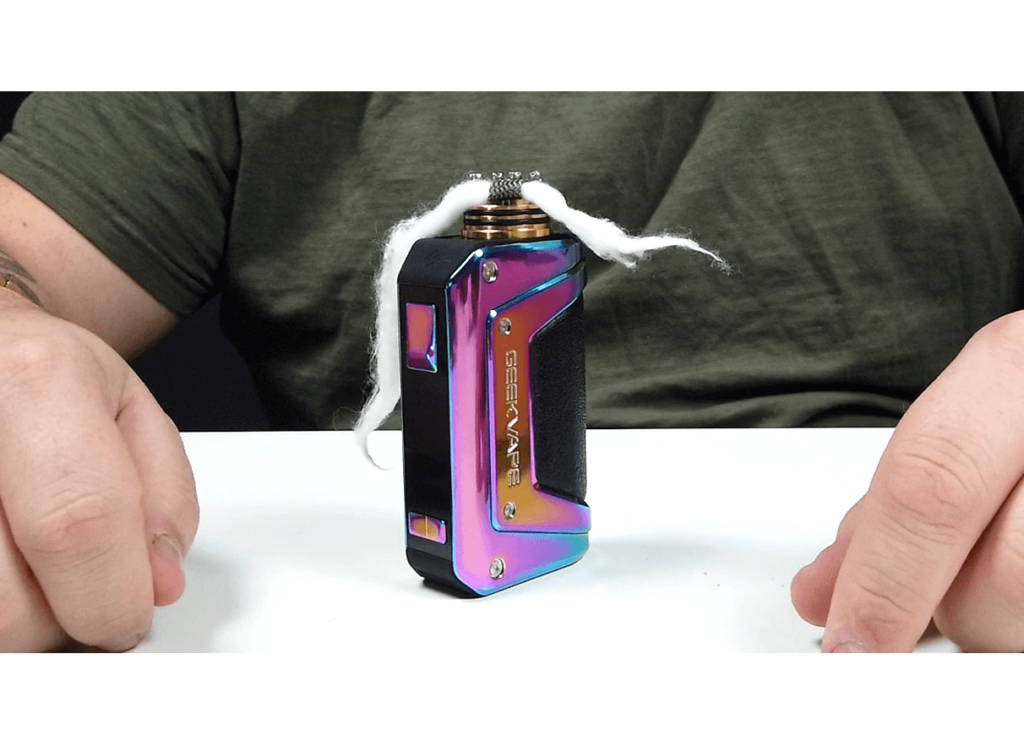
Tear off a thin strip of cotton roughly around 3mm thick, per coil.
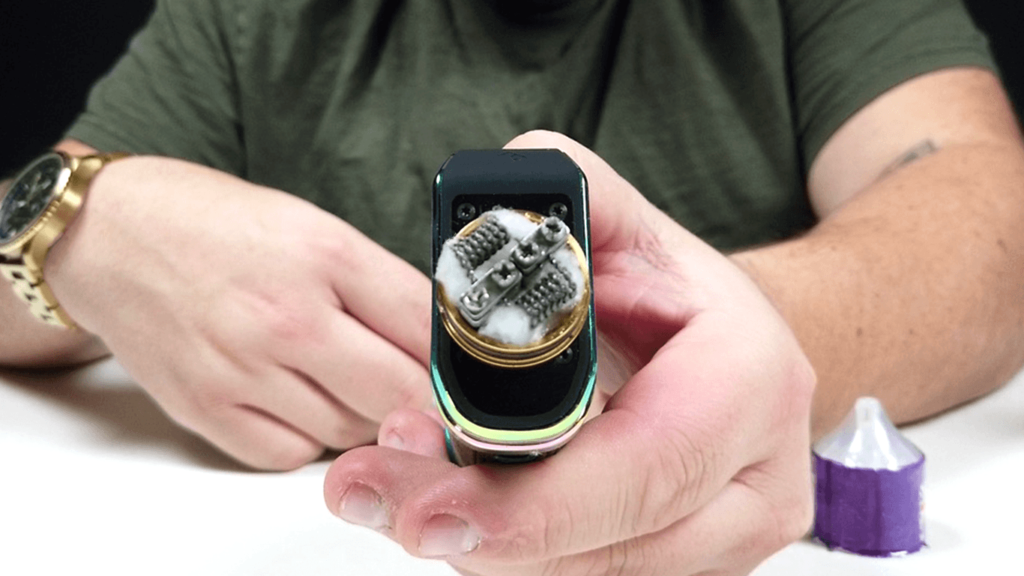
We’re using the Geek Vape L200 RDA which is dual coil mod, so we’ll need two identical strips.
Roll the cotton between your hands or fingers so its thin enough to fit into the coil.
It can help to pinch and twist the ends of the cotton too, to make it easier to insert it through the coil.
If you twisted the ends, they should fit straight through.
Then pull the cotton through the coil so each end is the same length either side.
Bend the ends of the cotton around the well to figure out where you should make the cut.
Push the cotton against the well to indent the cotton, which will act as a guide for where to cut.
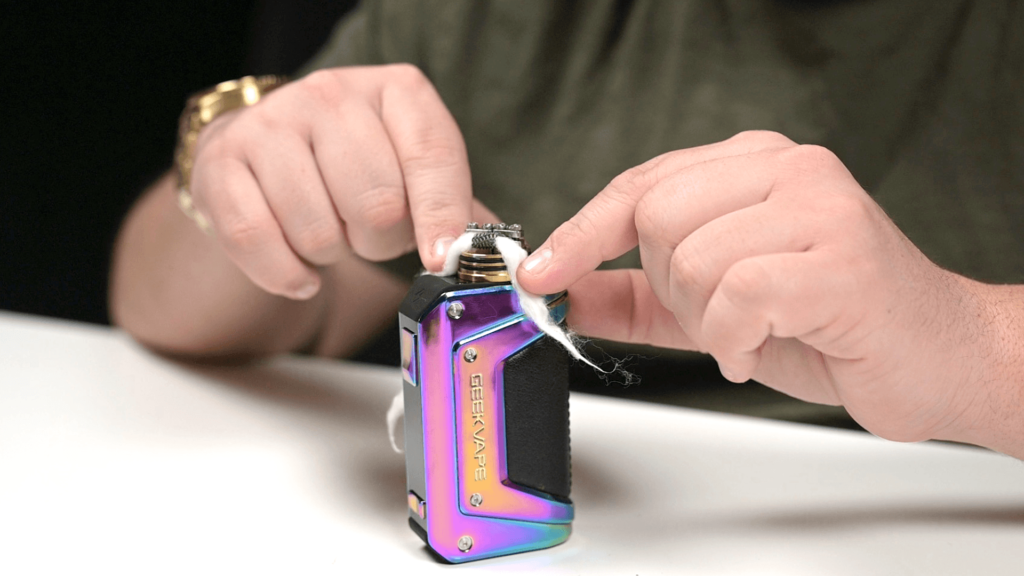
Use scissors to trim down the ends of the cotton where you made the indents. Make sure they’re the same length.
It can help to trim the ends slightly at an angle to help it fit into the well easier.
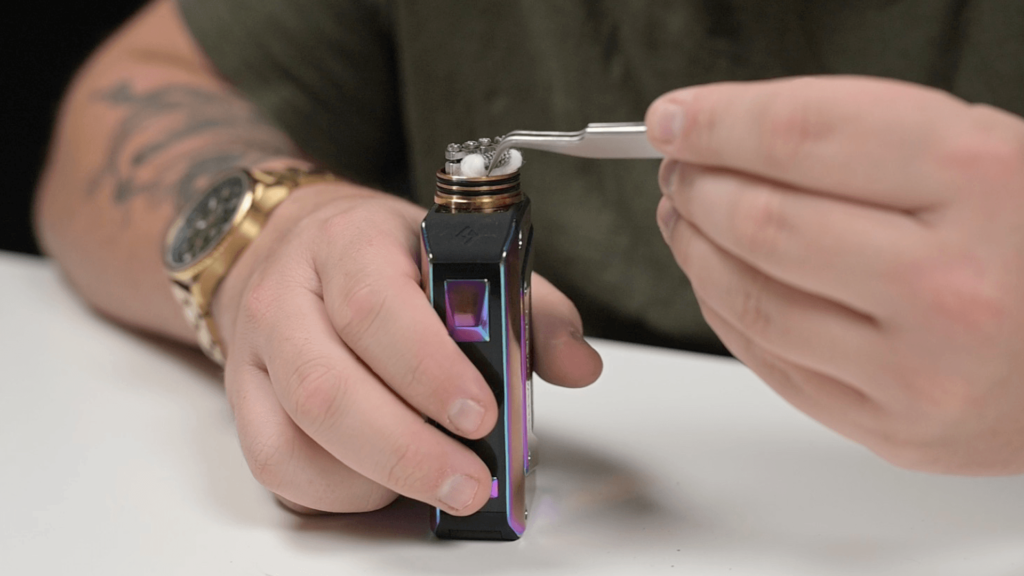
Use your fingers or a tool to fluff the ends of the cotton.
This will help the cotton absorb more e-liquid when we start to add it later. It also reduces the chance of dense, dry cotton burning when you fire the coil.
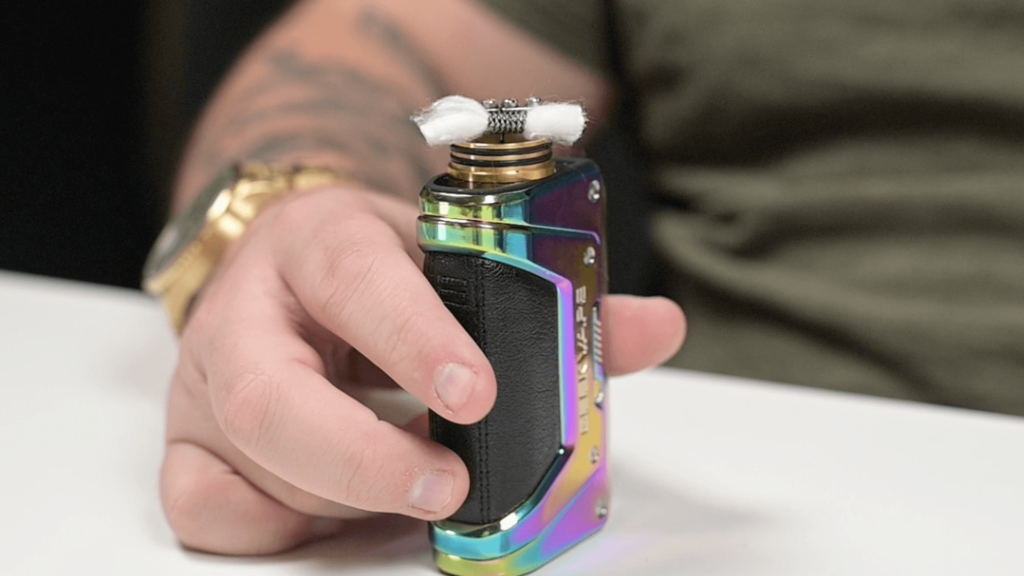
Now, our cotton has been trimmed and fluffed, we need to pack it.
Use a tool to gently push the ends of the cotton into the well.
Take care not to pack it too tightly as this will make it harder for the cotton to absorb e-liquid effectively.
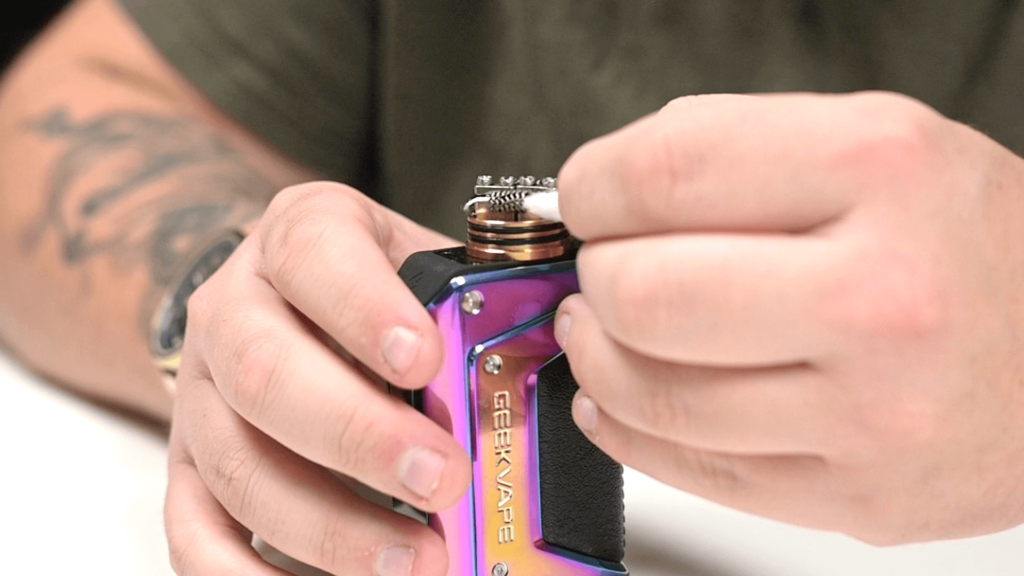
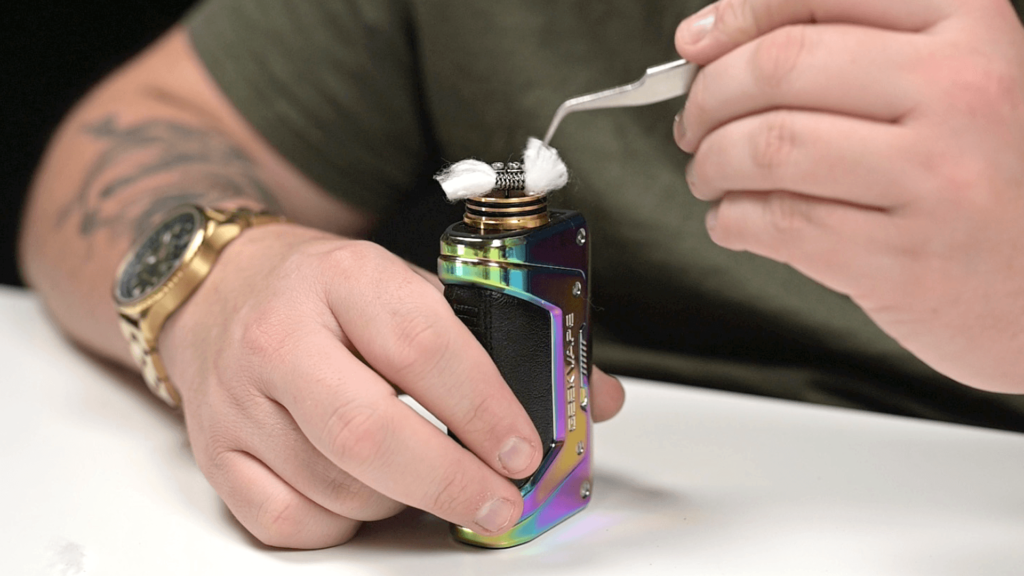
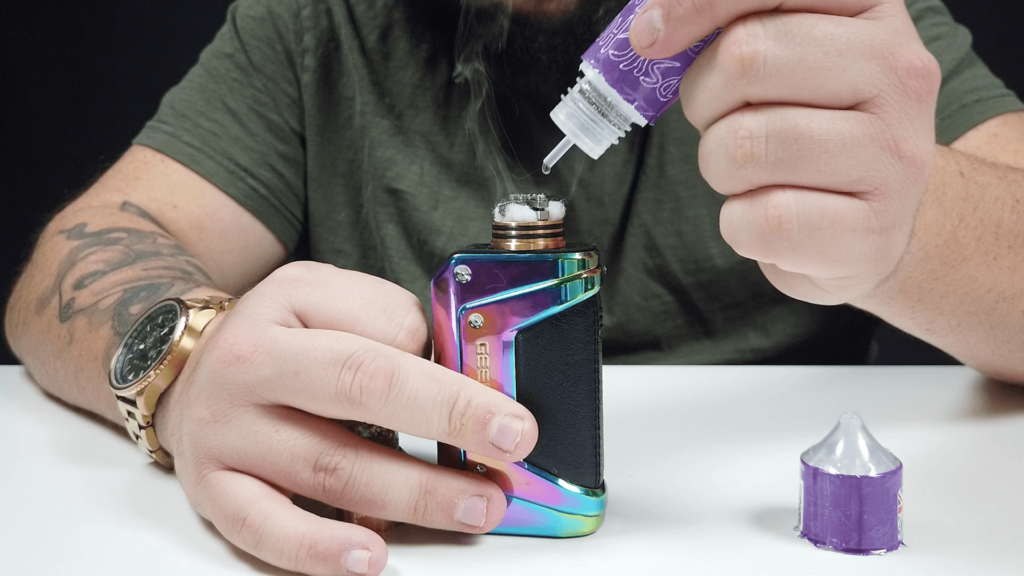
This is an important stage of wicking a vape coil. It’s essential you fully saturate both the coil and the cotton with e-liquid, taking care not to leave any dry areas.
If you don’t get both soaking with e-liquid, you could burn out the coil or burn the cotton and ruin the taste and flavour.
This is called ‘priming the coil’ and lets you get a great tasting vape from the first hit.
This will help prime the coil further and prevent any burning taste on the first few puffs.
Be careful not to get the coil too hot or to burn the cotton, and make sure it’s already we before you do this.
Again, make sure the coil and cotton are fully saturated with e-liquid.
Double check there are no dry patches left.
Once the coil and cotton are fully saturated, refit the cap.
All that’s left to do is try out your freshly wicked vape!
That’s all there is to it! If you want to get hold of any of the products we’ve used in this tutorial, we’ve included them below.
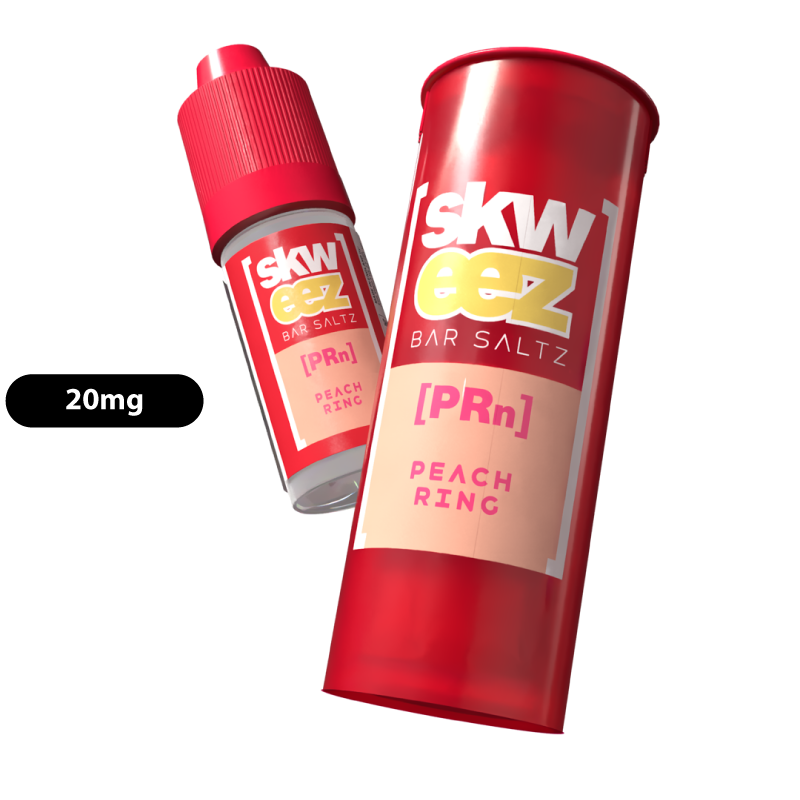
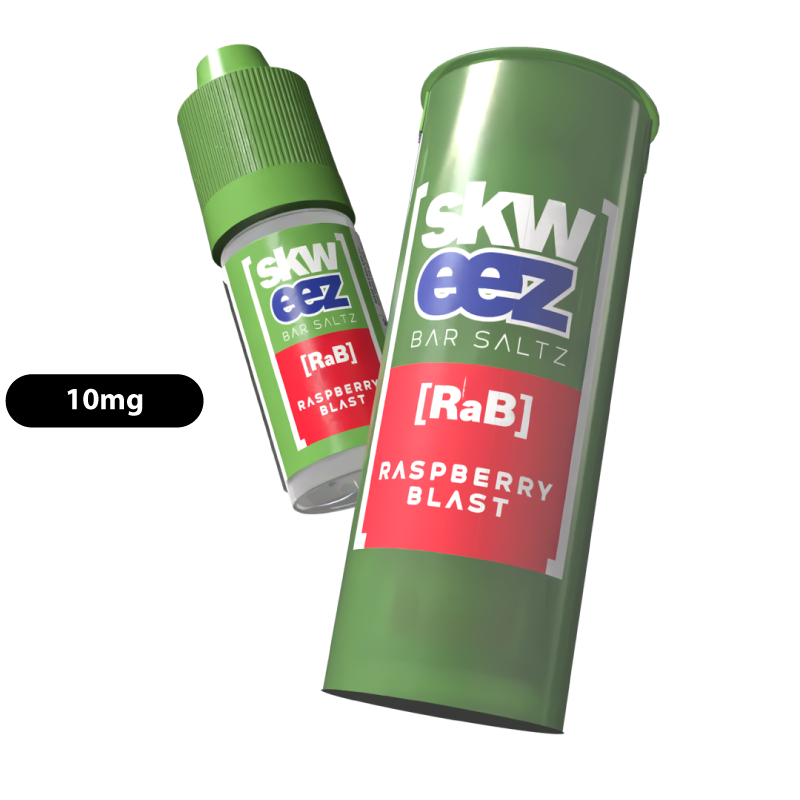
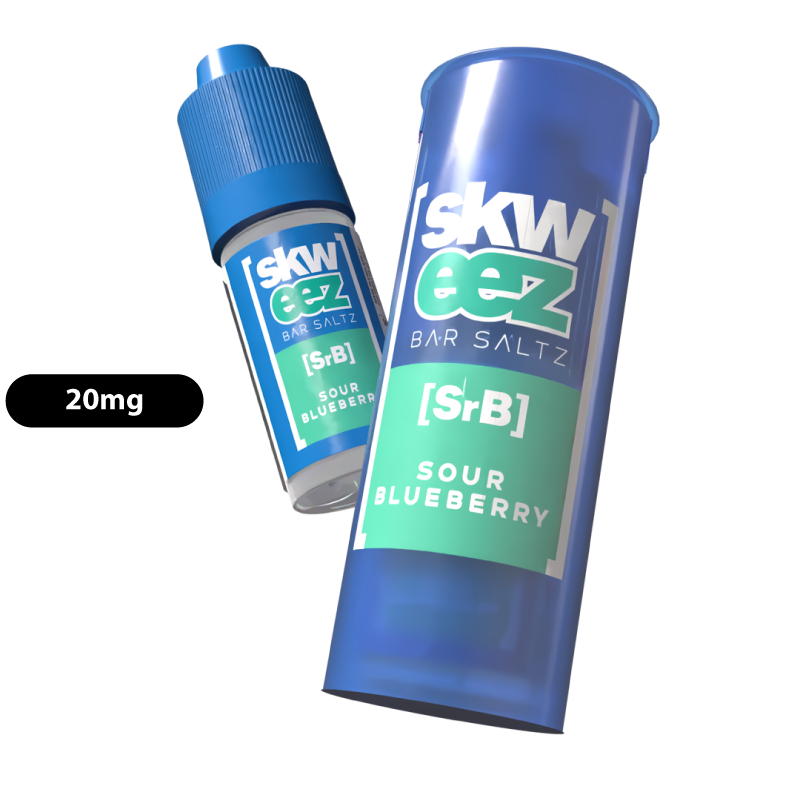
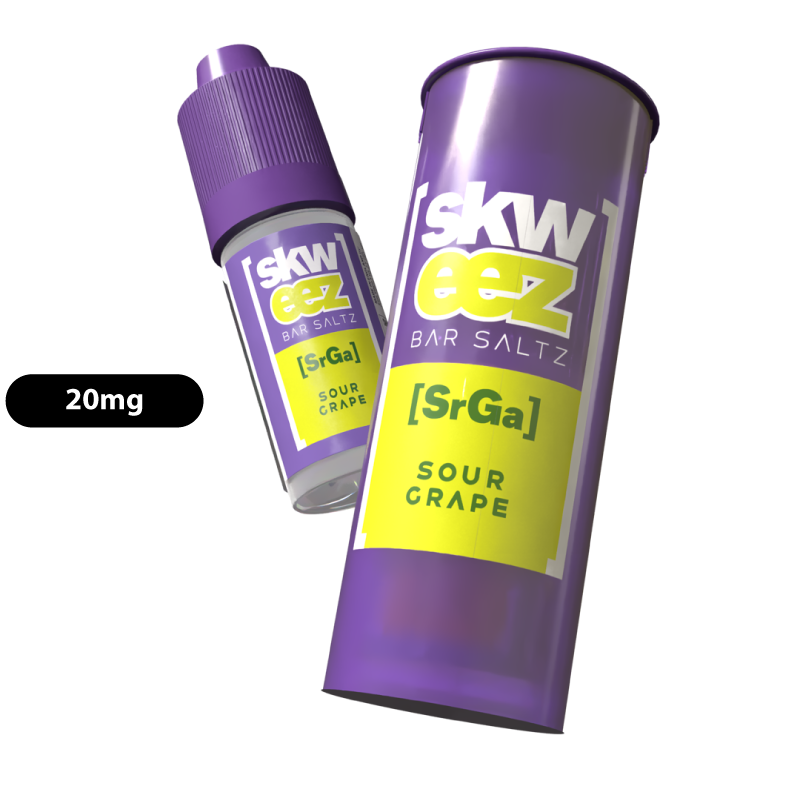
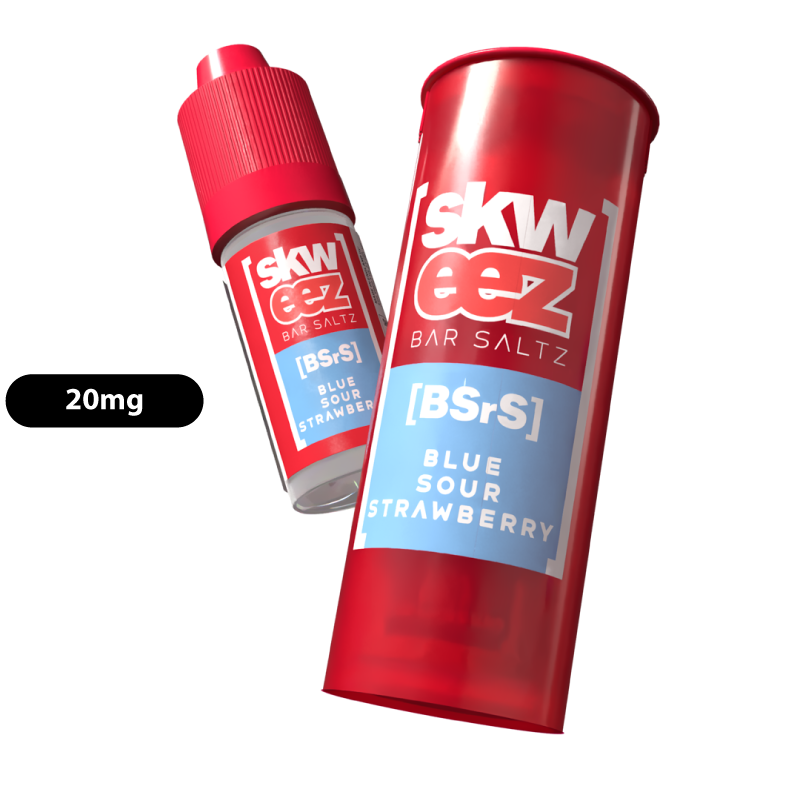
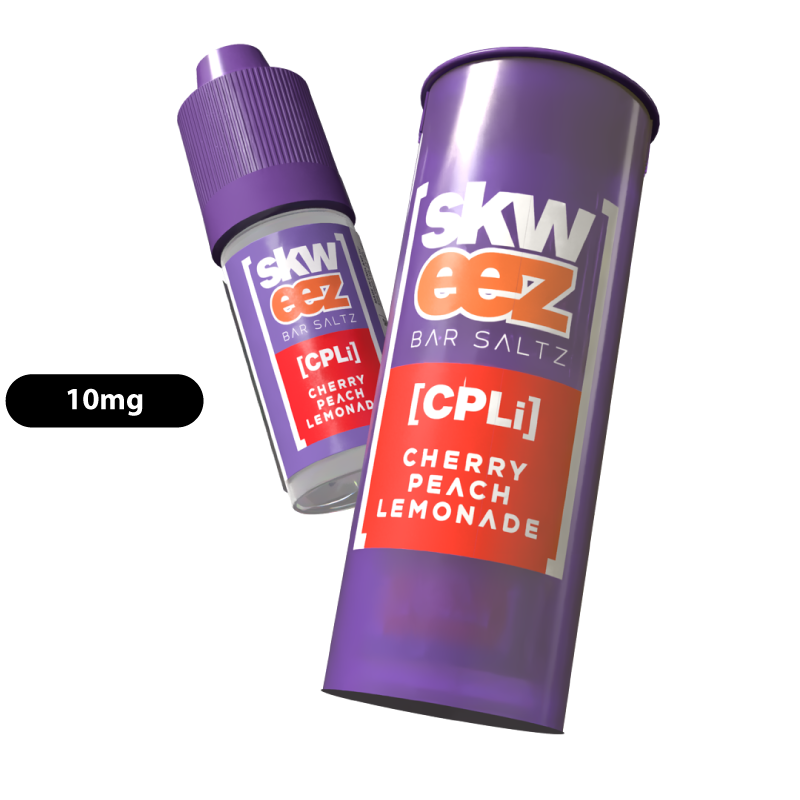
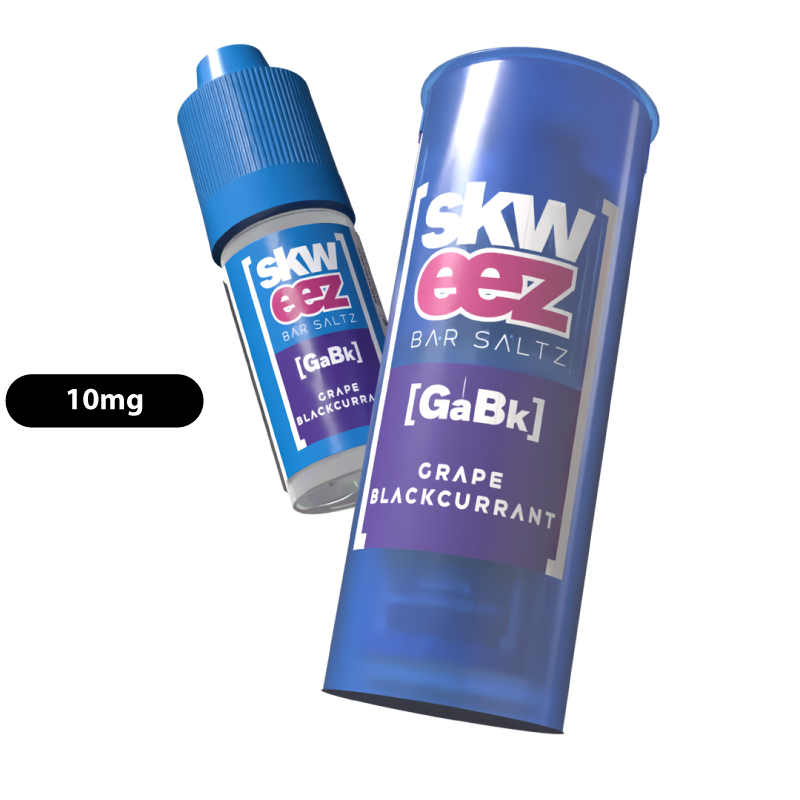
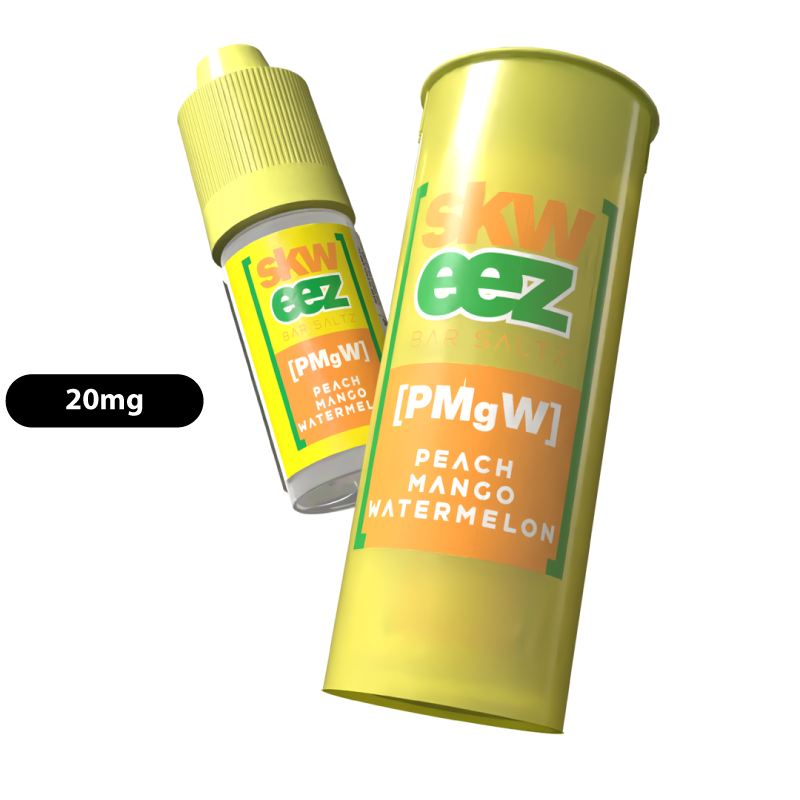
You can also head over to our online vape store where you can find hundreds of e-liquid flavours in a range of sizes and nicotine strengths.
We also stock a range of quality vape hardware including mods, coils, cotton, tanks and more to help along your vaping journey.
We are a proud member of the UKVIA and our products are TPD and TRPR compliant.
Customer Service